Once you have installed DimensioneX and understood the folder structure, it’s time to design our tutorial game.
You should think and design of your game area the same way as you would do for building a new house.
In this step you will design the game map.
Generally speaking, you have two possible approaches:
- 1. Either you design the game map and then produce the game scenes (i.e. using a 3D modelling software)
- 2. Or you get some suitable, existing scenes and then you link them so that you have the game map
Since it is quite simple to find existing stuff on the net, in our tutorial we preferred to choose the second approach.
Suggestion: If you own a digital camera, why not taking pictures of your favourite places and use them for your game.
Images must be in one of these formats: JPG, GIF or PNG. The smaller, the better.
Capturing images from the net
To capture an image from the net, you simply use your browser on Google Images. As soon as you are viewing the image on a page, you simply right-click and from the pop-up menu choose “Save image as…”. After doing so make sure that the image is saved in the testland folder you created in the previous step.
Now please try this procedure on the following images (click on the link to view the image, then save it – please leave image names unchanged while saving):
-
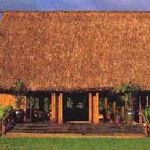
- scnBungalow.jpg
-
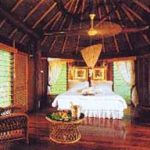
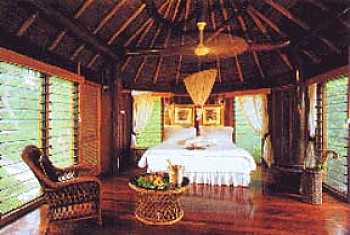
- scnBungalowStanza.jpg
-

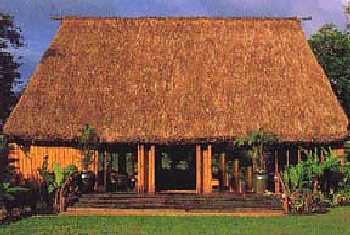
- scnLunetta1.jpg
The bungalow: scnBungalow.jpg
Bungalow’s room: scnBungalowStanza.jpg
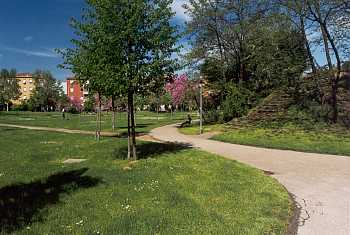
The park: scnLunetta1.jpg
Done? Fine.
Now I can tell you these images were already on your PC, under the pics folder. However it was important to make sure that you are familiar with the above procedure.
Suggestion: Three scenes are enough for this tutorial, but in the future if you want to get more scenes for your games you can start searching from our resources page.
Designing the game map
The map I’ve drawn below lets you understand how I would connect the scenes between them for this sample game.
Our game map
 |
Bungalow’s room
The bungalow
The park |
In real life, you design the map your own by drawing it on a paper.
Then you just simply translate what you’ve drawn into the game description (DXW file) using the DimensioneX own language.
However, keep this map at hand for later and let’s proceed with the next step.