In this short tutorial you will learn:
- How to install Tomcat on the Mac OS-X (you can easily adapt instructions for any flavor of LINUX)
- How to add DimensioneX into Tomcat so that you have a multiplayer game server up and running
- Configure the gae server to run your DXW game files, so you can start developing your own
Install Java 7 SE
The prerequisite is to have at least Java 1.6 (= Java 6) installed BUT I don’t recommend to install the latest Java version so please follow the indications.
Open Terminal first and type
java -version
If you have Java installed it will print which version it is.
- If you don’t have Java installed, you wil get an error here, then you will install it.
- If displayed version is near 1.7 or 1.8 then you are OK to proceed.
- If you have a newer version you could try with it, in any case it seems it is not simple to remove a version and put another, older one. More Java versions can coexist on the same machine so you could even try installing the older version and keep the newer.
Please note that in Java’s confusionary labeling standard “Java 7” actually refers to Java version 1.7, Java 8 = Java 1.8 and so on. There are also a bunch of packages (Standard Edition, JDK, Runtime edition, etc etc) here please try to stick with my recommendations: Stardard Edition is OK, JDK is OK, other packages: I dont know, I avoid them.
In order to get Java, go to Oracle’s Java Download page (Java SE Development Kit 7 or 8 are both recommended). In order to successfully download Java you might be required to sign up for a free account at Oracle’s website.
When downloaded install Java on your MAC as you normally do with other apps by following instructions on screen.
Install Tomcat
Now you need Tomcat, DimensioneX is desined to run on version 7. It seems that nowadays the oldest Tomcat 8 is available and it will do nicely too.
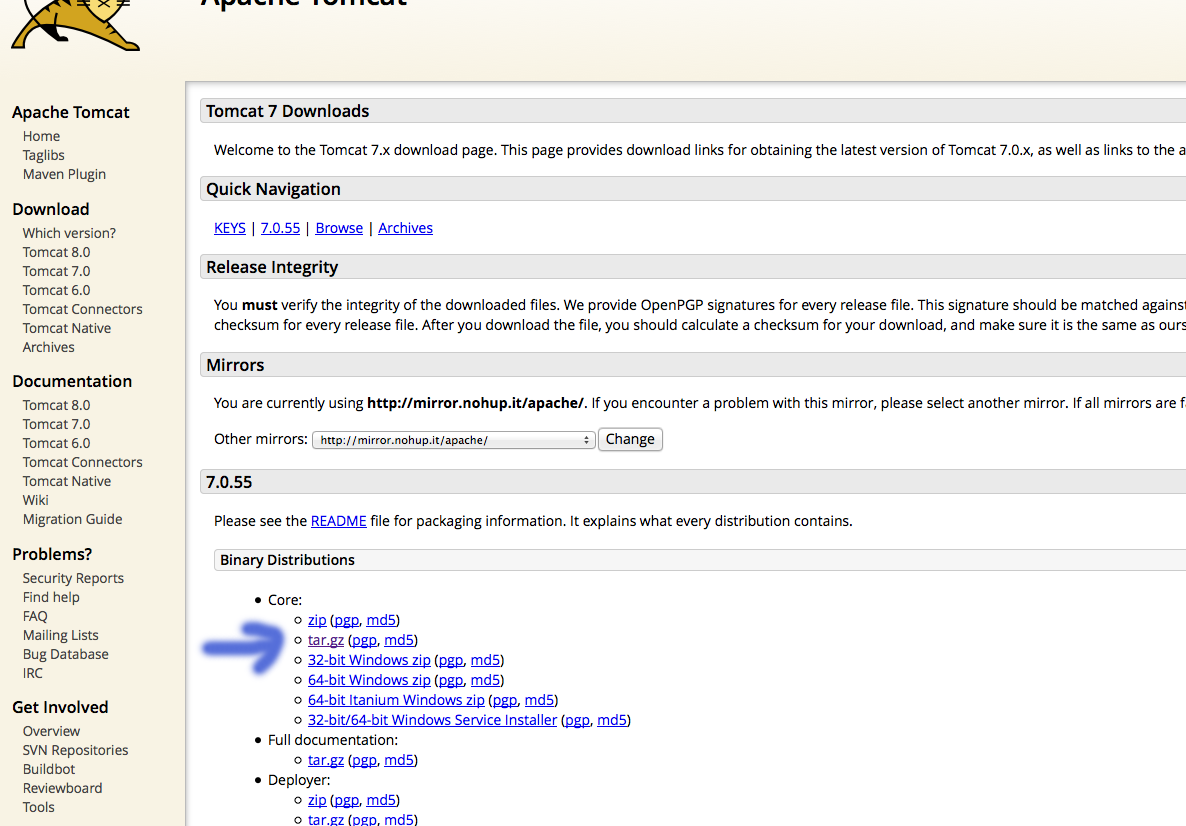
Download the so-called binary distribution (that is, ready to run) of Tomcat, the main distribution package. What you need is a file named something like apache-tomcat-8.0.**.zip which is available from here inside the bin subfolder.
Unpack this archive. You should have now a folder (mine was named apache-tomcat-8.5.97/ ).
Rename the folder to simply “tomcat” that will make things easier next, then drag/move the folder onto your desktop.
Testing Tomcat
You might need to make all Tomcat’s scripts executable. In that case, from the Terminal window type:
cd ~/Desktop
/usr/local/tomcat/binsudo chmod +x *.sh
This step isn’t necessary on all MACs, as in some cases the shells scripts did work anyway.
Starting Up Tomcat
Do it from the Terminal window, typing this command:
~/Desktop/tomcat/bin/startup.sh
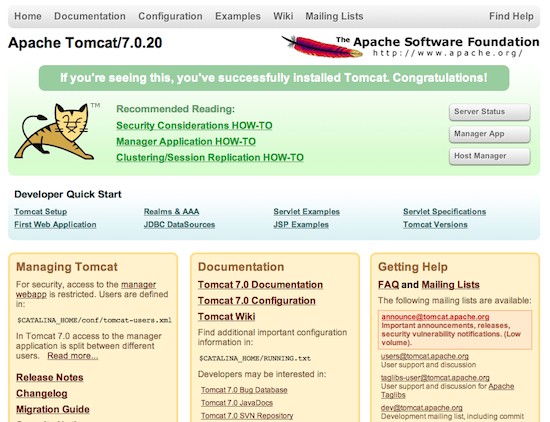
then open your browser at http://localhost:8080/ – it should look as follows (see figure)
If so- Hooray!
Then shut down Tomcat with this:
~/Desktop/tomcat/bin/shutdown.sh
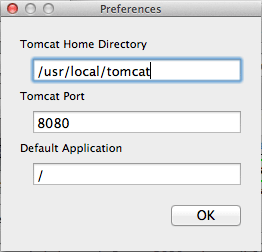 Tip for later: In order to make life easier, you can later download and use this little free utility Tomcat Controller, so that you can start/stop from a nice interface and even change the path to Tomcat should you update it.
Just access its Preferences menu to set correct paths.
Deploying DimensioneX
Download from our Download page the WAR version of DimensioneX. You will get a ZIP file which, again, you will unpack by double-clicking. You have now got a dimx.war file (war is the short for WebARchive) which is ready to deploy on your Tomcat.
For this to work, you woud need to use the so-called “manager” interface. But I do not advise to do this, because this method is clumsy and can be also very confusing. You will need to edit the deployed files afterards and the server might redeploy the package thus overwriting your work. There is a quicker and safer way, see below:
Go into tomcat/conf and open server.xml with a text editor
Identify the line below (near line 123) and change it so it looks as below:
<Host name="localhost" appBase="webapps" unpackWARs="false" autoDeploy="true">
Please note: unpackWARs false, autoDeploy true.
Save file.
This tells the server that web apps to be run are found inside tomcat/webapps folder. This is where dimx should be put.
Rename now dimx.war to dimx.zip (yes a .war file is actually a ZIP renamed). Then extract it further to a dimx folder containing:
- WEB-INF (folder)
- ajax.js
- index.html
- favicon.ico
- logodimxreduced.gif
- …and so on
Drag this dimx folder and drop it (move it) inside tomcat/webapps.
So you now have a folder: Desktop/tomcat/webapps/dimx/ with things inside. Good.
Test it
Start up Tomcat with (Terminal):
~/Desktop/tomcat/bin/startup.sh
Now you should be able to access your brand new DimensioneX multiplayer game server, pointing your browser at:
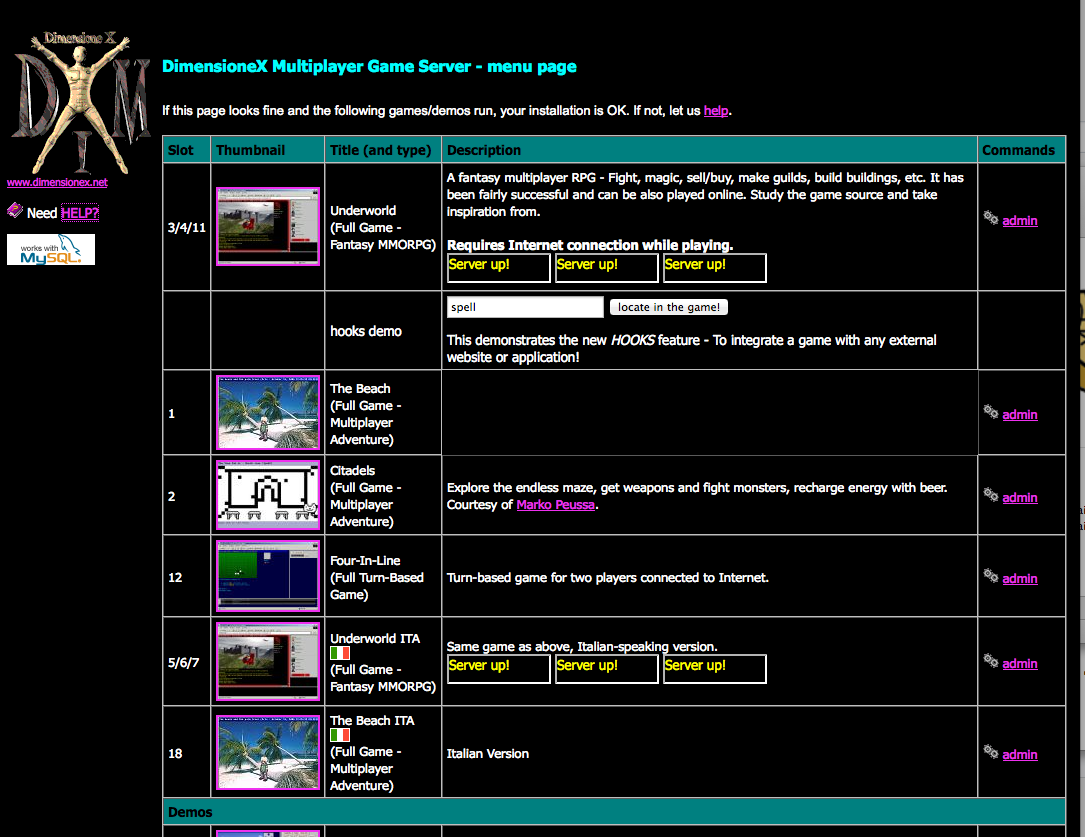
http://localhost:8080/dimx/
If you see the “Server Up” in the little black iframes all is running!
Have a nice play at our demo games!
When finished, stop Tomcat from the Terminal window with:
~/Desktop/tomcat/bin/shutdown.sh
Next steps
If you want to develop games and not only play our demos, here are the suggested next steps to get started:
ALWAYS working in tomcat/webapps/dimx/:
- Edit WEB-INF/system/dimensionex.properties and change this setting to
serverType=local
this will enable you to develop games in local using the IMAGESFOLDER_LOCAL instruction tag, it will work even without internet connection. If tomcat represents a public server, then let serverType=public instead. - Suppose you will develop a game which will be named mygame.dxw. This file will have to be placed inside WEB-INF/system.
- The server has several game slots. Choose a game slot you want to assign to your developed game, MYGAME.DXW. Suppose it is slot number 1. Then, edit WEB-INF/system/worldnav1.properties (notice the “1” that refers to slot 1) and edit the setting
worldFile=mygame.dxw - Restart Tomcat (via shutdown and restart), then when opening slot number 1 the server will load your game and run it:
http://localhost:8080/dimx/servlet/multiplayer?game=1 - Check out the game development tutorial and the developer’s reference to get to grips with multiplayer game programming on DimensioneX!
If in doubt, just post a comment or get in touch!
Credits
Thanks Wolf Paulus for his tutorial on the topic, I used it as a basis.